Step-by-Step on How to Build A Website


These are the ingredients for you to build your own website.
- Ghost (headless CMS)
- Digital Ocean (Cloud infrastructure for hosting)
- Cloudflare (for CDN - Content Delivery Network)
- Namecheap (for DNS - Domain Name Server)
Ghost Premium
Originally I started writing on Medium, late after I discovered Ghost and I was amazed by how easy the customization is. Therefore I moved all my contents and started to build my own space. Ghost is a publishing platform that supports both the frontend and backend of your blog. If you want to save the hassle of creating your own server and hosting it and etc, Ghost does offer a starter plan for $9 per month. So if you choose to host your own with a cheaper option like DigitalOcean, here is the right place for you! Check out the Digital Ocean One Click Installation page here. Prior to that, be sure to have DigitalOcean registered first, and there's free $100 for the first-time user.
Ghost Setup with Digital Ocean
You can host your web server with your own computer resource, but for anyone like me is more comfortable to use a remote server. I can host source code, files, images easily without having to worry about the bottleneck of the hardware.
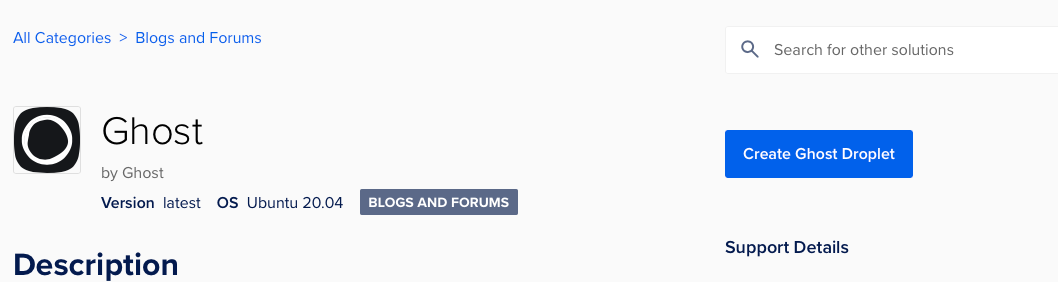
First off, register an account in Digital Ocean (It is used to host my website on the Ubuntu server). Once you have created, navigate to the Digital Ocean Marketplace and click on the "Create Ghost Droplet" button.
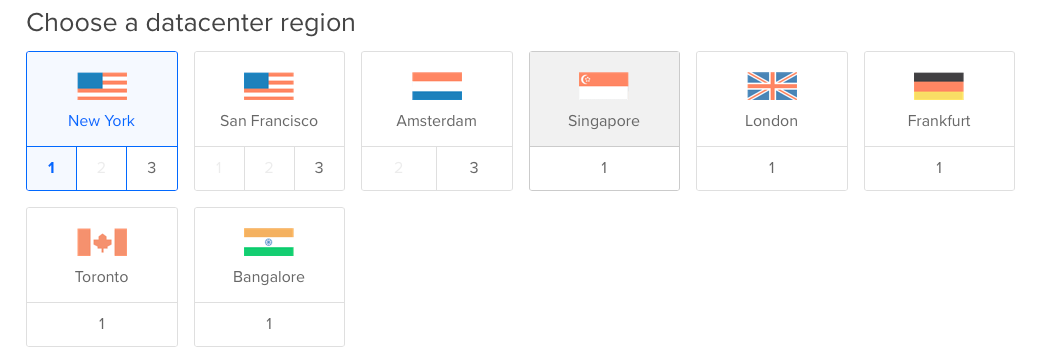
I suggest you start off with a $5 package, and if your blog has hit server hiccup with high traffic flow, you can upsize your resource anytime. It is up to your discretion. Next, choose the datacentre region which should be closest to where you locate. We want the latency as low as possible when accessing the IP address.
I choose SSH keys to be the authentication method. SSH, also known as Secure Shell Protocol is a protocol to secure a remote computer over an unsecured network. It is safer than password authentication because essentially SSH has two keys - a public and private key. The public key is placed on the server and only the SSH client who holds private key access can connect to the server. The SSH server will grant access when the keys are matched. Refer to this page for the setup. Then proceed to the droplet creation and it might take a few minutes.

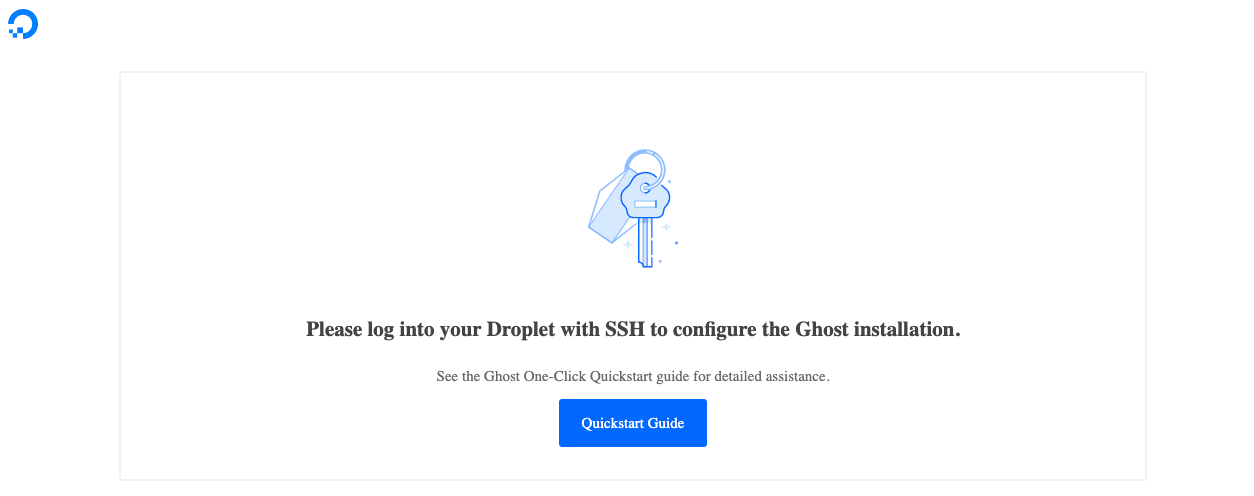
If you paste the IP address on the URL, it should load the page as shown below.
Getting Domain Name
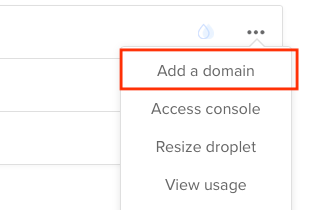
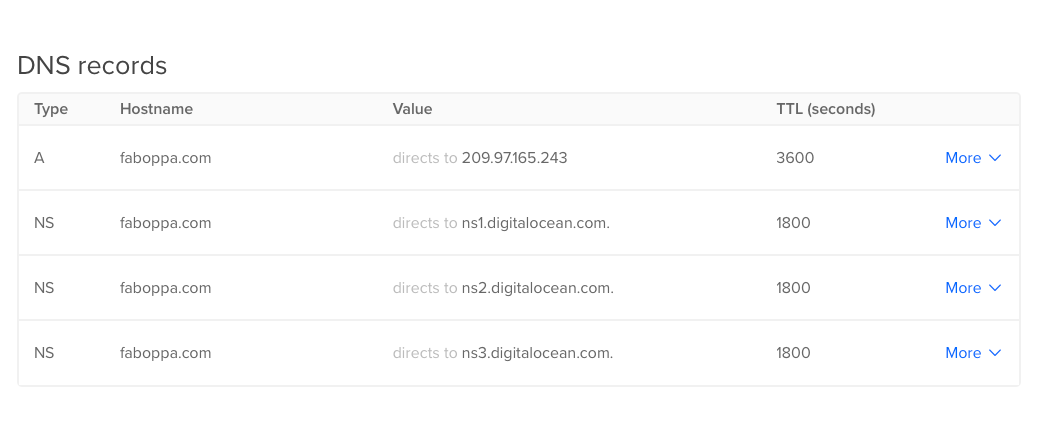
Next up! Create a domain name server for your blog. There are sites where you can purchase your custom domain, i.e. Namecheap, Google Domains. I registered one domain myself on Namecheap at a discounted price of $6 one year (use promo code NEWCOM598 and get .COM for just $5.98!*). Add the domain to the Digital Ocean and set up the DNS accordingly.
Installing Ghost on the Server
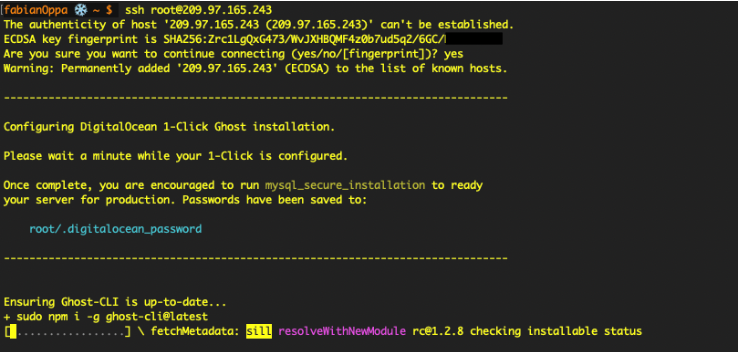
Open up your terminal and do an ssh to the IP address that you've been provided when you created the droplet.
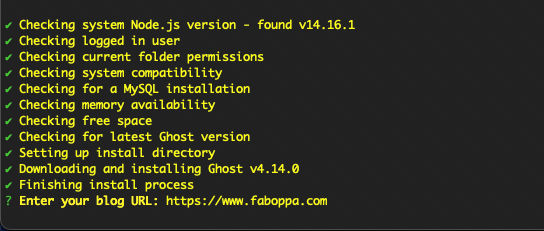
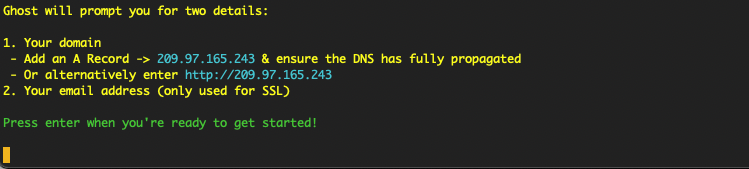
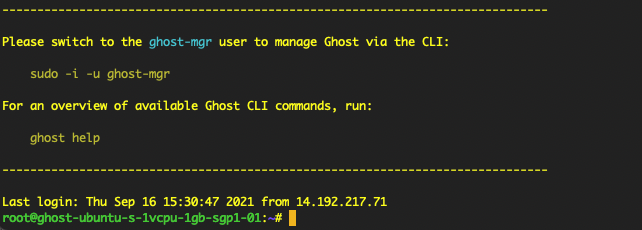
Press enter to begin the installation and followed by providing your purchased domain name and your email address to the system.
Once the installation is completed, you should be able to this message in your terminal! You should be able to see this in your browser, yourdomain.com!
DNS Setup
When a visitor clicks on your page, it will send a request to the server and the server will respond with the content back to the visitor. Cloudflare is used to speed up the website at a lower cost. It uses the CDN, shorts for the content delivery network. The idea is to serve a cached version of your content in the nearest host so that it can be accessed more quickly. CDN server cache content on multiple points of presents (PoP) to reduce latency.
There are a few changes you must make in both Cloudflare and Namecheap. You will need to point your domain to the custom nameserver. They will be mailed to your inbox or you can find this information under the DNS setting in Cloudflare. The nameservers indicate where the zone file of your domain is located. Therefore, hop into your domain name registrar site (Namecheap) and add these custom nameservers.
In addition, here are some of the rules I have set on Cloudflare.

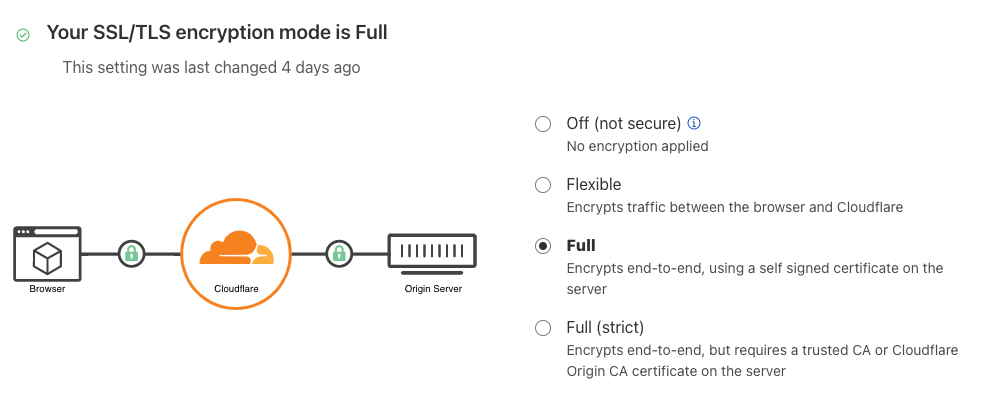
P/S: As routing through Cloudflare might raise SSL-related problems due to multiple redirects. The server might refuse the requests as traffic was detected spammed from several IPs, and therefore get shut down prematurely. A quick fix to that was to switch the SSL to "Full" from "Flexible". It assures the SSL secures/encrypts communication between your server and client.
Voila! You have successfully installed and hosted Ghost with your remote server. For the visitors, they have read access to your hosted website. And, you have administrator access to the edit by navigating to yourdomain.com/ghost.
Thank you for reading. Hope it helps!
